kitchen-island-size-guidelines
36–42 Inches Clearance: Tape Ready Kitchen Island Sizing for Homeowners
Most kitchen islands work best between 2 feet by 4 feet at the small end and 4 feet by 8 feet at the large end, with 36 to 42 inches of clearance on every side. The single measurement that matters most is clearance from finished cabinet faces, not from studs or rough framing, because that gap decides whether doors, drawers, and people can actually move. Add a height check (36 inches for prep work, 42 inches for bar seating) and you have the core of a safe island plan. The rest comes down to seating, appliances, and a tape measure.
TL;DR:
Most kitchen islands should have at least 36 inches of clearance from finished cabinet faces to ensure proper door, drawer, and foot traffic movement.
Island height should match its function, with 36 inches for prep work, 42 inches for bar seating, and lower options for wheelchair access or seated tasks.
Clearances of 36 to 42 inches are minimum, but 40 to 48 inches are preferable in high-traffic areas or where appliance doors swing open.
Seating overhangs of 12 inches and total lengths of 66 to 96 inches accommodate three to four stools comfortably, with 44 to 60 inches behind stools for walkability.
When adding appliances, ensure at least 12 inches of counter space on one side of a cooktop and 15 inches on the other, plus proper utility and cabinet access.
Solutionteamremodelingsolutionteamremodeling.comPlan A Kitchen Island That FitsSolution Team Remodeling helps Redmond homeowners create functional kitchens through thoughtful planning, skilled craftsmanship, and organized remodeling.Plan your kitchen remodel
Table of Contents
Standard island sizes and heights for small, medium, and large kitchens
How much clearance should surround your island?
Sizing the seating side: overhangs, stools, and legroom
Appliance and fixture spacing rules for islands
Step-by-step: measuring your kitchen for the right island size
Island design trends shaping 2026 layouts
A contractor’s take on where island sizing goes wrong
How Solution Team Remodeling plans and installs your kitchen island
FAQ
Sources
Standard island sizes and heights for small, medium, and large kitchens
Island dimensions should match the kitchen’s footprint, not the other way around. A common starting point is a small island size that still functions as real counter space, according to Forbes’s sizing guide. From there, sizes scale up with the room.
Small islands at minimum functional size, suited to smaller kitchens.
Mid-range footprint islands for galley or L-shaped kitchens sized moderately.
4’ x 8’ to 4’ x 10’: larger islands for open-plan kitchens, often including seating and a secondary sink or cooktop.
Height matters as much as footprint. Standard prep counters sit at 36 inches, matching the rest of the kitchen’s base cabinets. Islands built for bar-style seating typically rise to 42 inches, which pairs with taller stools. For wheelchair users or anyone who prefers a seated work surface, Fixr’s dimension guide recommends a lower counter in the 28 to 34 inch range, paired with knee space at least 24 inches high and 30 inches wide. Matching the height to how the island gets used, rather than defaulting to 36 inches everywhere, avoids a counter that looks right but feels wrong in daily use.
How much clearance should surround your island?
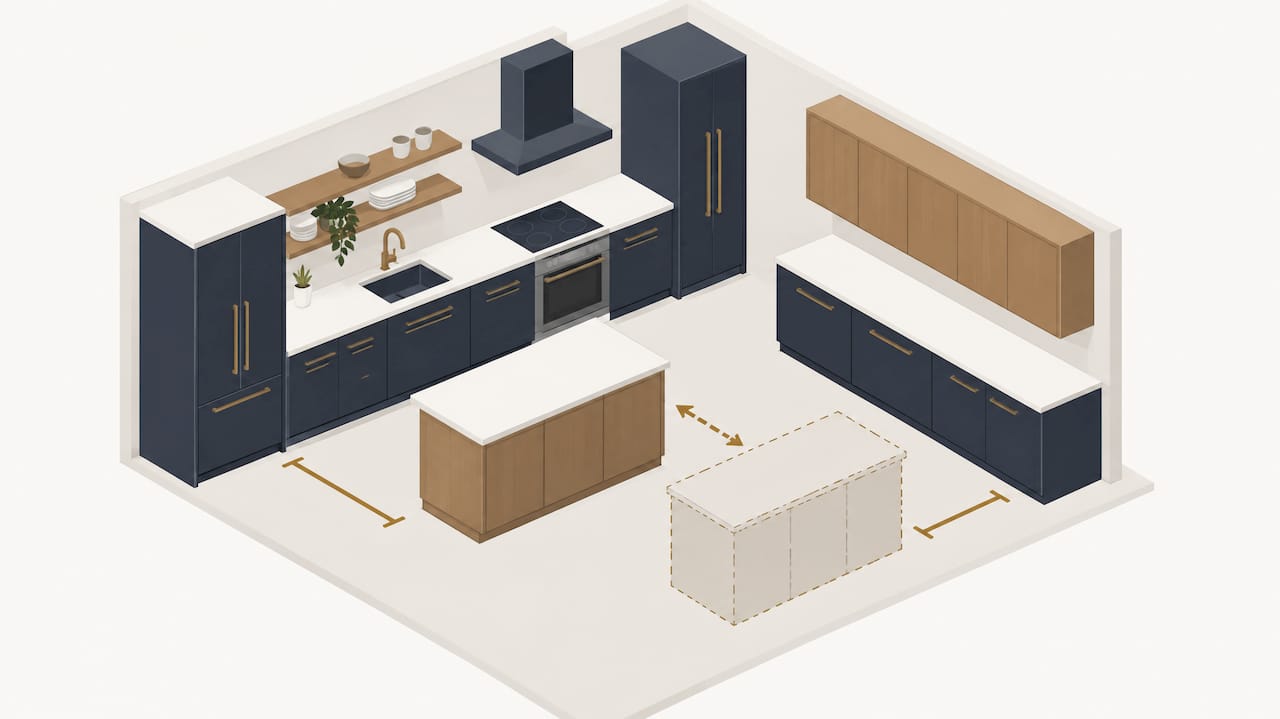
Clearance is the number that determines whether an island feels generous or cramped, and it’s the one most homeowners get wrong by measuring from the wrong starting point. Industry guidance calls for a minimum of 36 to 42 inches between the island and surrounding cabinets or counters, with 40 to 48 inches preferred in busy walkways or anywhere an appliance door needs to swing open, according to The Spruce’s planning guide.
Here’s how to measure it correctly:
Measure from the finished face of the cabinets, not the wall or the cabinet box, since doors and drawer fronts add an inch or more on each side.
Account for appliance door swing, especially dishwashers and oven doors that open fully into the aisle.
Check clearance on all four sides of the island, not just the side facing the main cooking zone.
Pro Tip: If clearance comes up short on one side, try shifting the island a few inches off-center rather than shrinking it, or stagger the ends so the tightest point lines up with a low-traffic corner.
When a kitchen simply can’t support full clearance on every side, a freestanding island that can be repositioned often solves the problem better than a built-in unit sized too tight for the room.
Sizing the seating side: overhangs, stools, and legroom
The seating side of an island needs its own math, separate from the footprint of the island itself. Each person needs roughly 22 to 24 inches of width to sit comfortably without elbows colliding, a figure Fixr’s dimension guide uses as the standard seat allowance.
Overhang depth: aim for about 12 inches of counter past the cabinet face for knee clearance; 9 inches works as a minimum if space is tight.
Three stools: plan for an island length of about 66 to 72 inches.
Four stools: plan for roughly 88 to 96 inches of length.
Clearance behind seated stools: leave 44 to 60 inches so someone can walk behind a seated guest or push a stool back without hitting a wall or counter.
Skipping that behind-seat clearance is a common reason islands that look fine on paper feel tight once stools and people are actually in the room.
Appliance and fixture spacing rules for islands
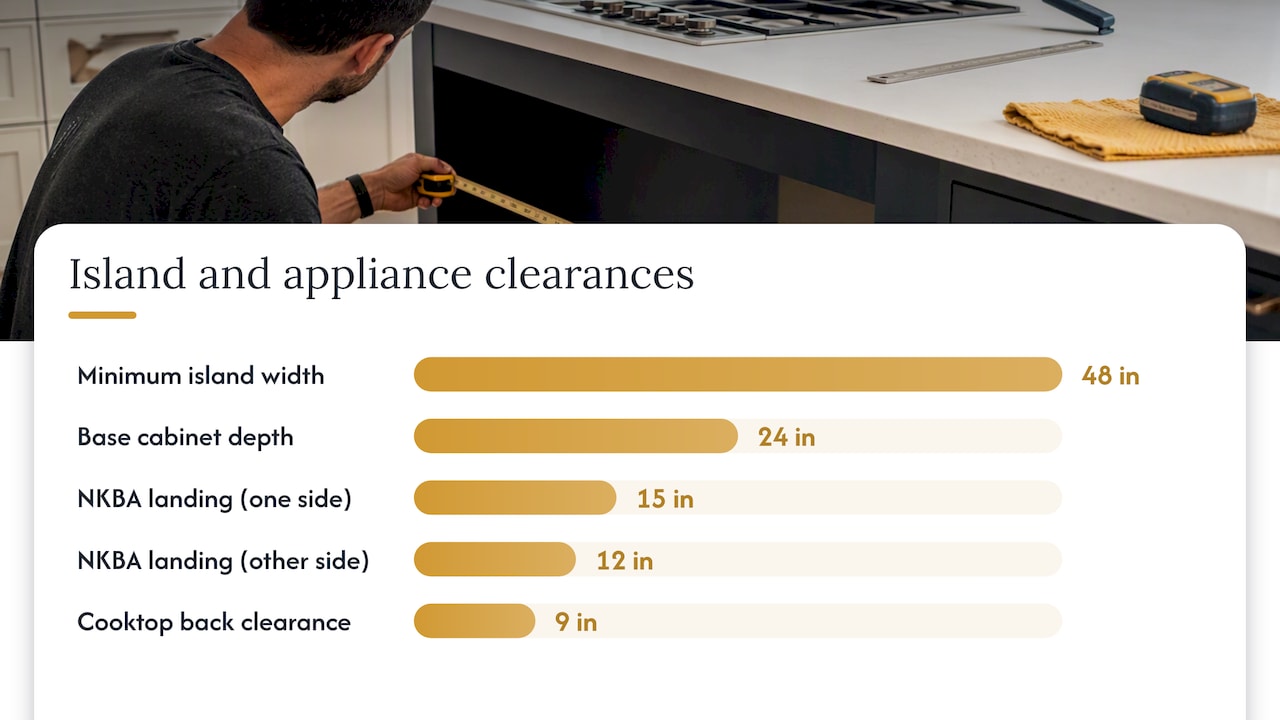
Adding a sink, dishwasher, or cooktop to an island changes the math, because appliances need landing space on top of their own footprint. The NKBA’s planning guidelines call for a minimum of 12 inches of counter on one side of a cooking surface and 15 inches on the other, space needed to set down hot pans safely.
Cooktops: leave at least 9 inches of counter behind the cooktop when it sits flush with the surrounding counter height, plus side clearances per the appliance manufacturer.
Sinks and dishwashers: budget standard appliance widths plus landing space on at least one side for dishes and prep items.
Storage depth: base cabinets typically run 24 inches deep, which sets the real, usable depth of any island drawer or cabinet bank.
A documented standard is that landing areas need 12 inches on one side and 15 inches on the other side of a cooking surface, according to NKBA. That gap is what keeps a hot pan from landing on bare counter edge or, worse, nowhere at all.
When an island needs cabinets accessible from both faces, Fixr’s guide notes the island should be at least 48 inches wide to preserve full-depth storage on each side while still leaving a usable center reach.
Step-by-step: measuring your kitchen for the right island size
Getting the size right starts with the room, not the island. Measure first, then work backward to what fits.
Measure the full room width and length, then subtract the depth of permanent base cabinets, typically about 25.5 inches, from each wall where cabinets run, a step JLC Online flags as the most frequently skipped part of island planning.
Apply the 10% rule of thumb: a commonly cited guideline holds that an island should occupy roughly 10% of total kitchen square footage, per Forbes, which gives a sanity check against an oversized plan.
Verify clearance on every side against the 36 to 42 inch minimum, and confirm any appliance or seating allowances fit within that footprint.
Check utility access and door swings, including where plumbing or electrical lines would need to reach the island.
Tape it out on the floor before ordering cabinets or countertops, a practical step JLC Online recommends as the fastest way to catch a sizing mistake while it’s still free to fix.
Pro Tip: Leave the tape outline down for a few days and actually walk your normal kitchen routine around it. Problems that don’t show up on a tape measure usually show up on the third trip to the refrigerator.
Island design trends shaping 2026 layouts
Island design is shifting in ways that affect sizing decisions, not just aesthetics. Hunker reports a move toward freestanding, furniture-like islands in 2026, a shift offering smaller kitchens a lower-cost, more flexible option compared to a fully built-in unit. The same report notes two-tier islands losing ground to single-level designs, which improve sightlines across open kitchens and simplify everyday cleaning. Waterfall edges, bold color, and visible overhangs are also playing a role in how large an island reads visually, sometimes letting a smaller footprint feel more substantial than its actual dimensions.
A contractor’s take on where island sizing goes wrong
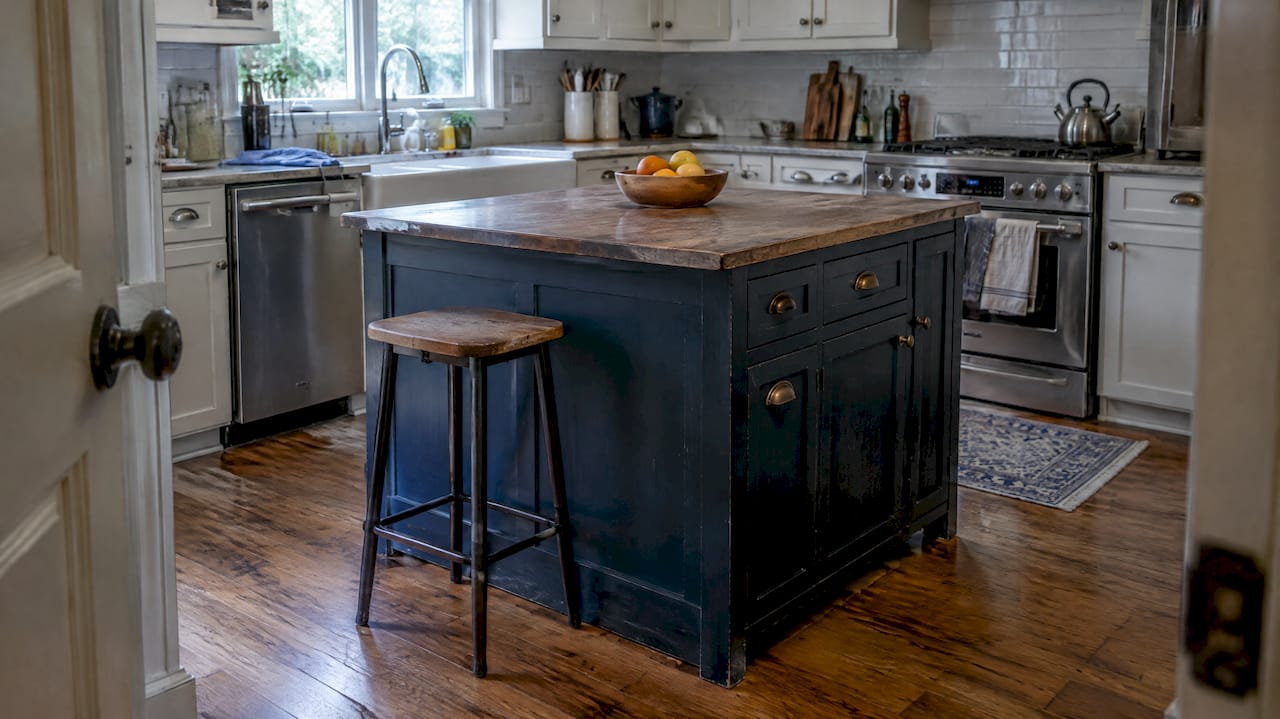
The most common mistake we see is skipping the step of subtracting cabinet depth before settling on an island size, which quietly eats the clearance a homeowner thought they had. Plumbing and electrical access gets decided far too late, forcing costly changes mid-project. We often steer clients toward a freestanding island when clearance is tight, since it protects both flow and budget.
— Vlad
How Solution Team Remodeling plans and installs your kitchen island
Once you know the rough size and layout you want, the harder part is making the measurements, plumbing, electrical, and finish work line up on install day. We handle that coordination as part of our kitchen remodeling projects, from initial planning through final walkthrough.

Site measurement and planning: verifying clearance, appliance placement, and seating layout against the actual room, not a generic template.
Material selection: choosing countertops, cabinetry, and finishes that fit the island size and budget.
Trade coordination: scheduling plumbing and electrical work for sinks, dishwashers, or cooktops before cabinets go in to avoid late changes.
Installation: managing the full build, from framing through final finish.
You can see completed kitchen projects in our renovation portfolio or review the full scope of what we offer on our services page. If you’re ready to size and plan your own island, request a free estimate and we’ll start with a site visit.
FAQ
Is a 10-foot island too big for a kitchen?
A 10-foot island works fine in a large, open kitchen, but it only makes sense when the surrounding floor space supports 36 to 42 inches of clearance on every side, per NKBA guidance. In a smaller room, a 10-foot island will likely violate the common guideline that an island should stay near 10% of total kitchen square footage, according to Forbes.
Can I fit an island in a 12x12 kitchen?
A kitchen around 12 feet by 12 feet can usually fit a small island, often in the 2’ x 4’ range, once you subtract base cabinet depth from the usable floor width. Clearance is the limiting factor here more than footprint, so confirm 36 inches on all sides before committing to a size.
What is the golden ratio for kitchen islands?
There’s no single official “golden ratio” for island sizing, but the closest industry rule of thumb is that an island should occupy roughly 10% of the kitchen’s total square footage, as cited by Forbes. Pair that with a minimum functional size of about 2’ x 4’ to keep the island from becoming too small to use.
What’s replacing the kitchen island in 2026?
Nothing is replacing the island outright, but Hunker’s 2026 trend report notes a shift toward freestanding, furniture-style islands and single-level designs, moving away from heavily built-in, two-tier layouts. These freestanding versions tend to cost less and offer more flexibility in smaller kitchens.
Sources
Recommended
Back to Blog
